SVG in Power BI – Part 1 SVG Basics

Series
This is the first post in a series of Using SVG in Power BI. The series is to support my session at Power BI Days in Mechelen, Belgium in April 2019. The complete series is listed below :
- Introduction to SVG Basics
- KPI Shapes in Power BI
- Filling up with colour using SVG in Power BI
- Using Text in SVG
- Using SVG Rotate to create a dial in Power BI
- SVG Icons in Conditional Formatting
- Using a Theme to add SVG Icons
- Feb 2023 Update – 5 SVG Stars
This post will introduce the very basics of SVG. If you already know SVG please move along to my second post in this series.
SVG Basics
Before I get into the technical details of what SVG is, let me explain why SVG images are so important. If you take some images and enlarge them to be huge you will get a very fuzzy pix-elated image. Because an SVG image is made up of lines and shapes defined by points, sizes and colours you can stretch them as big as you like and they will stay sharp.
SVG stands for Scalar Vector Graphics, which is an xml based markup that can contain two-dimensional vectors. XML based markup means that is is a language that uses tags to define elements.
Elements can be defined with an opening tag and a closing tag for example <svg>…</svg> or defined in a single self-closing tag for example <rect … />. Opening or self closing tag can contain attributes such as co-ordinates or sizing.
Example

<svg xmlns='http://www.w3.org/2000/svg'
   viewBox='0 0 100 100'>
       <circle cx='50' cy='50' r='40' fill='red' />
</svg>
The above example defines the picture will be inside an area that the top left will be 0,0 and the bottom right will be 100,100. It contains a red circle with the centre at 50,50 and a radius of 40.
If an SVG statement contains more that one element they will be ordered with the first item at the back and the last item at the front.
SVG Paths
The previous example drew a circle and you won’t be surprised to find you draw rectangles using <rect… /> as well. The next step from these svg basics would be to draw more complex shapes. For this you need to be able to define points, curves etc. One of the methods of this is path element.
In a path element you can move the pen, draw line, arcs and curves (yes they are different) . Below is a really simple example to draw a green triangle. For a more detailed guide please see Jenjov’s tutorial link in SVG Resources
<svg xmlns='http://www.w3.org/2000/svg'
   viewBox='0 0 100 100'>
   <path d='M10 90 L50 10 L90 90 Z' fill='green' />
</svg>
SVG Icons
Lots of icons available on the web are written in SVG and plenty can be downloaded. Please be aware of copy-write on the images and always give credit where credit is due.
If you have PowerPoint o365 version you can insert Icons onto a slide and save as a picture and that will give you the SVG code. That’s how I will get some of the icons I use in later SVG posts.
SVG Resources
This has been a very short introduction to SVG. There are plenty of resources out there to assist in composing SVG creations. Here are a few that I used to learn SVG.
W3Schools
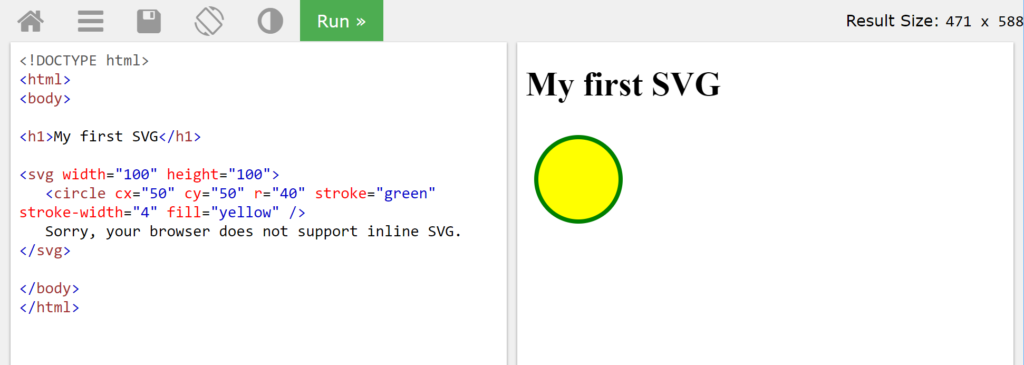
W3 Schools is a great resource to get started in SVG. The reason I return again and again is the Try it yourself button. This gives a simple place to test your svg.

Jenkov’s SVG Tutorial
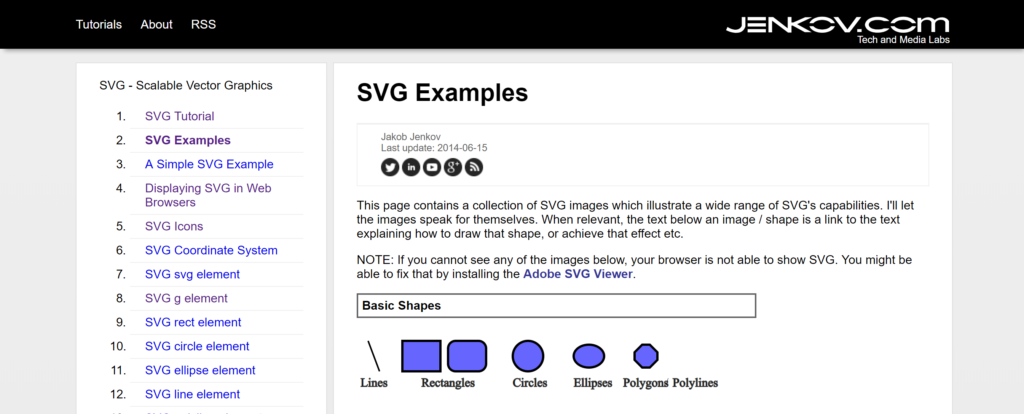
This is a great site for learning the different parts of SVG and how it works and also includes videos. Ignore the age of the site, SVG basics hasn’t changed.

Conclusion
This was a very brief introduction to SVG. Its a language worth understanding the basics of and hopefully through this series you’ll find a new way to visualise your data.
SVG in Power BI – Simple KPI shapes – Part 2
More Power BI Posts
- Conditional Formatting Update
- Data Refresh Date
- Using Inactive Relationships in a Measure
- DAX CrossFilter Function
- COALESCE Function to Remove Blanks
- Personalize Visuals
- Gradient Legends
- Endorse a Dataset as Promoted or Certified
- Q&A Synonyms Update
- Import Text Using Examples
- Paginated Report Resources
- Refreshing Datasets Automatically with Power BI Dataflows
- Charticulator
- Dataverse Connector – July 2022 Update
- Dataverse Choice Columns
- Switch Dataverse Tenancy
- Connecting to Google Analytics
- Take Over a Dataset
- Export Data from Power BI Visuals
- Embed a Paginated Report
- Using SQL on Dataverse for Power BI
- Power Platform Solution and Power BI Series
- Creating a Custom Smart Narrative
- Power Automate Button in a Power BI Report