Power Apps – Animating SVG Fill Colour and Size

This is the second post in the SVG in Power Apps series. In this post I will introduce animating SVGs by altering the colour and size of the SVG graphic using variables and a timer control.
Series
This series is to introduce ideas for using SVG within PowerApps to add graphics to your Apps.
- Introduction to SVG in a PowerApp
- Animating SVG colours and sizes
- Multi-part SVGs
- Rotation and Clip Paths
Selecting Fill Colour
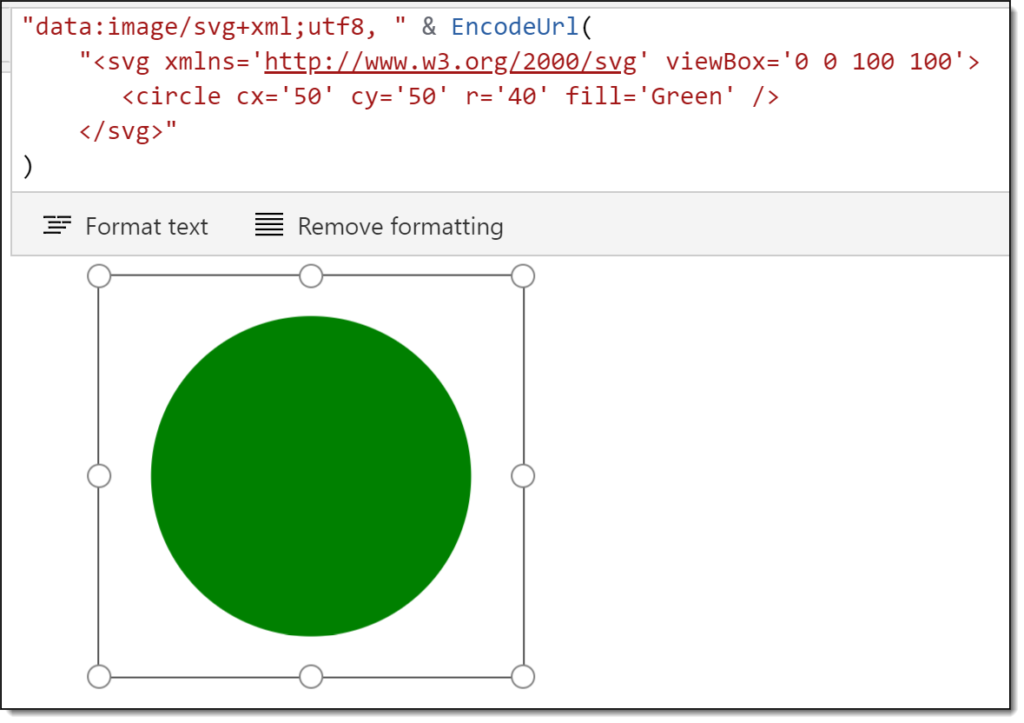
For this post we shall start with a simple circle SVG shape to modify using controls. The code shall start as one circle and the image control will have a border.

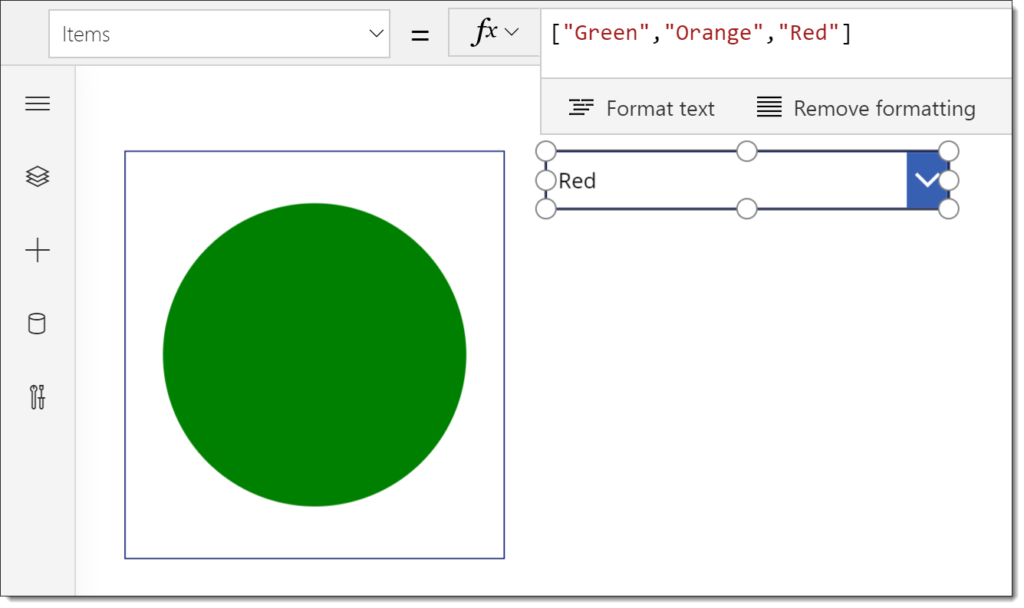
The first control will be a drop down to select the colour. We add a drop down with a list of colours as the items and rename it to ColourDropDown.

We then modify the SVG code of the shape to use the selected colour in drop down. The code is now as follows.
"data:image/svg+xml;utf8, " & EncodeUrl(
    "<svg xmlns='http://www.w3.org/2000/svg' viewBox='0 0 100 100'>
       <circle cx='50' cy='50' r='40' fill='" & ColourDropDown.SelectedText.Value & "' />
    </svg>"
)
Now the circle changes colour based on the drop down value.

Animating SVG Size
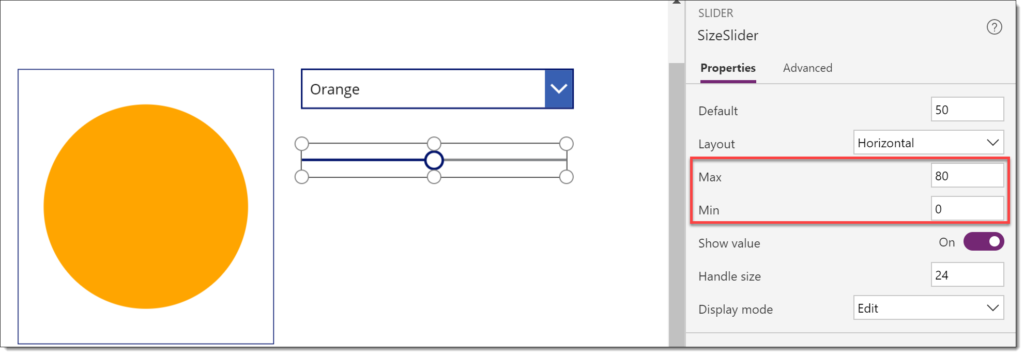
The next stage to use a slider to resize the circle. We add a slider and change the Min and Max values to match the requirements and renamed the slicer to SizeSlicer.

We then modify the code to use the slicer value as the radius.
"data:image/svg+xml;utf8, " & EncodeUrl(
    "<svg xmlns='http://www.w3.org/2000/svg' viewBox='0 0 100 100'>
       <circle cx='50' cy='50' r='" & SizeSlider.Value & "' fill='" & ColourDropDown.SelectedText.Value & "' />
    </svg>"
)
Animating SVG Colour
Getting a user to select a colour or size is a simple introduction idea to modifying the SVG image. The next step is to create a simple animation using a timer to modify the size. On another screen we will add a SVG shape with the fill colour and size based on two variables.
First step is to add a button to setup the variables. Then we change the SVG code to use the 2 variables

"data:image/svg+xml;utf8, " & EncodeUrl(
    "<svg xmlns='http://www.w3.org/2000/svg' viewBox='0 0 100 100'>
       <circle cx='50' cy='50' r='" & vvSize & "' fill='" & vvColour & "' />
    </svg>"
)
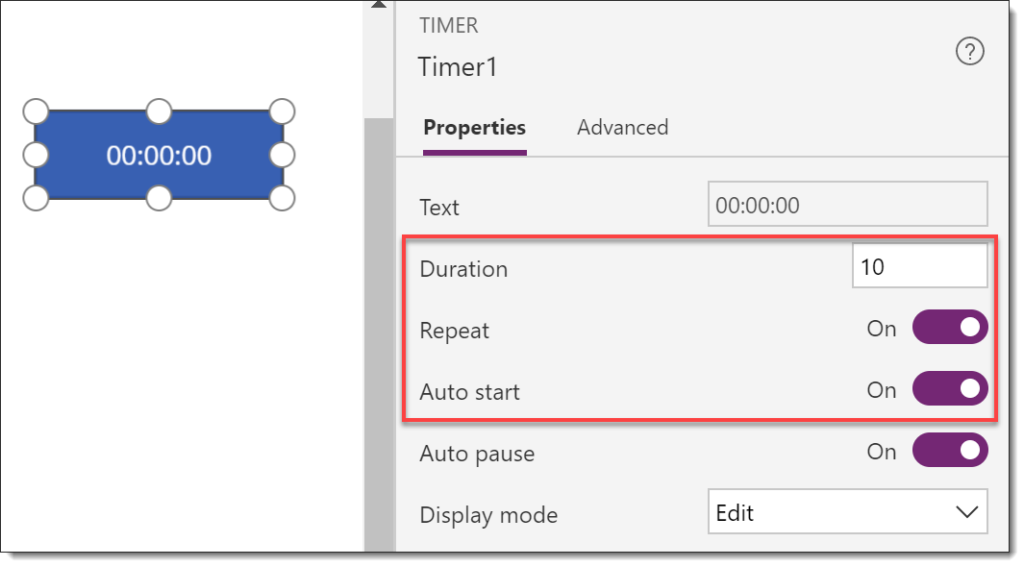
The next step is to add a timer. In order to make the shape resize smooth I change the duration to 10, ie 10 milli-seconds. Also change the Repeat and Auto start to be on, so the animation will start automatically and continue to repeat.

The next step is calculate what will happen every 10 milliseconds. The size of the shape should increase by one until it reaches a maximum value and then reduce by one until it reaches a minimum. We will need to change the code behind the setup button to set the vvChange to 1.
If(
    // Reaches maximum so start decreasing
    vvSize >= 60,
    UpdateContext({vvChange: -1}),
    // Reaches minimum so start increasing
    vvSize <= 0,
    UpdateContext({vvChange: 1})
);
// Update the size
UpdateContext({vvSize: vvSize + vvChange})
Colour Animation
The colour of animating SVG can be specified using a hex rgb string. For example #FF0000 is red and #CCCCCC is grey. Power Apps do not include a function to translate from a number to a hex string so in a separate post I explain how to use a component as a function which can be found here . I add this component and name it DECtoHEX_Blue.
So the we add code to the setup button to create variables vvBlueValue set to 0 and vvBlueChange set to 1. The component is to convert the vvBlueValue into a HEX string, so we put into the component custom property DEC to be vvBlueValue.
Then we add very similar code to the size changing. The final step in the code builds the colour string ready for the SVG.
If(
    // Reaches maximum so start decreasing
    vvSize >= 60,
    UpdateContext({vvChange: -1}),
    // Reaches minimum so start increasing
    vvSize <= 0,
    UpdateContext({vvChange: 1})
);
// Update the size
UpdateContext({vvSize: vvSize + vvChange});
If(
    // Blue has min 0 and max 255
    vvBlueValue >= 255,
    UpdateContext({vvBlueChange: -2}),
    vvBlueValue <= 0,
    UpdateContext({vvBlueChange: 2})
);
// Update Blue value
UpdateContext({vvBlueValue: vvBlueValue + vvBlueChange});
// Calculate the colour string from the component.
UpdateContext({vvColour: "#0000" & DECtoHEX_Blue.HEX})
The animation will now have a circle that grows and shrinks and cycles from black to blue and back again.
Conclusion
This introduces a concept of using SVG and a timer to create animations for any app. These methods could be expanded to modify the position of elements within the SVG.