DevOps REST API is a well documented API that we can easily use in Power Automate to perform a huge range of actions.
This post shows you how to find the names for fields and how to update fields in Azure DevOps using Power Automate
This post explores connecting Power Automate to DevOps for item creation and item editing and includes troubleshooting the connection
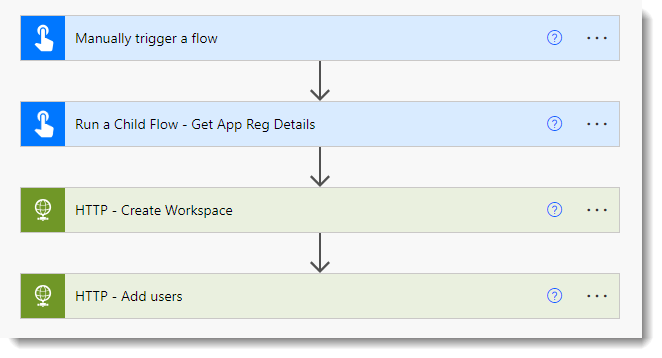
This post will finally create the flow to automatically create the Power BI workspace making use of all the preparation in previous posts.
This post walks through doing the changes allow the use of Power BI Rest APIs by the service principal created in post 1
When you store secrets in Azure Key Vault as described in the previous post in this series you need a way to fetch them when you need them
Azure Key Vault is a cloud service that provides a secure store for secrets. And in the previous post on creating Power BI Service Principal Profile we added a secret. The Tenant ID, Client ID and Secret values give access to the Service Principal and whatever permission they have. So for that reason we are going to create an Azure Key...
For Power Automate to use the Power BI Rest API it needs a service principal profile. This is created by creating an app registration that has the right permissions. This allows an app, e.g. Power Automate, to establish a trust relationship with the Microsoft identity platform. This is done using Entra Admin Center (previously known as Active Directory) This post...
The Power BI Rest API provides the ability to create a workspace. Power Automate includes an action to make a HTTP call, i.e. a Rest API. So we should be able to get a flow to create a workspace. So that was my goal. Writing the first flow and getting it to work involved so many little steps I had...
Using a combination of Notebook and Data Wrangler means we can transform data and write to table writing very little code by hand.